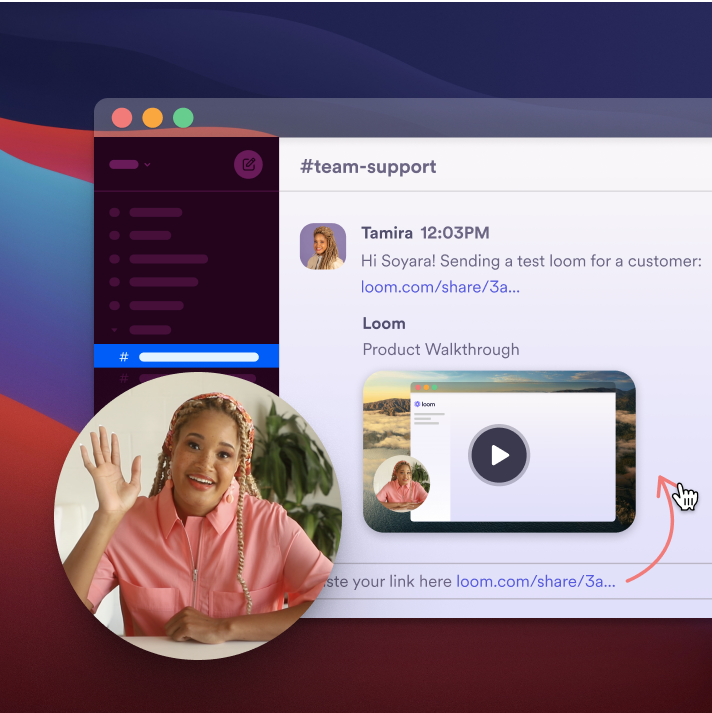
Free Screenshot for Mac
Meet all your visual communication needs with Loom's efficient and user-friendly Mac screenshot tool.

Discover Loom's screenshot features for Mac
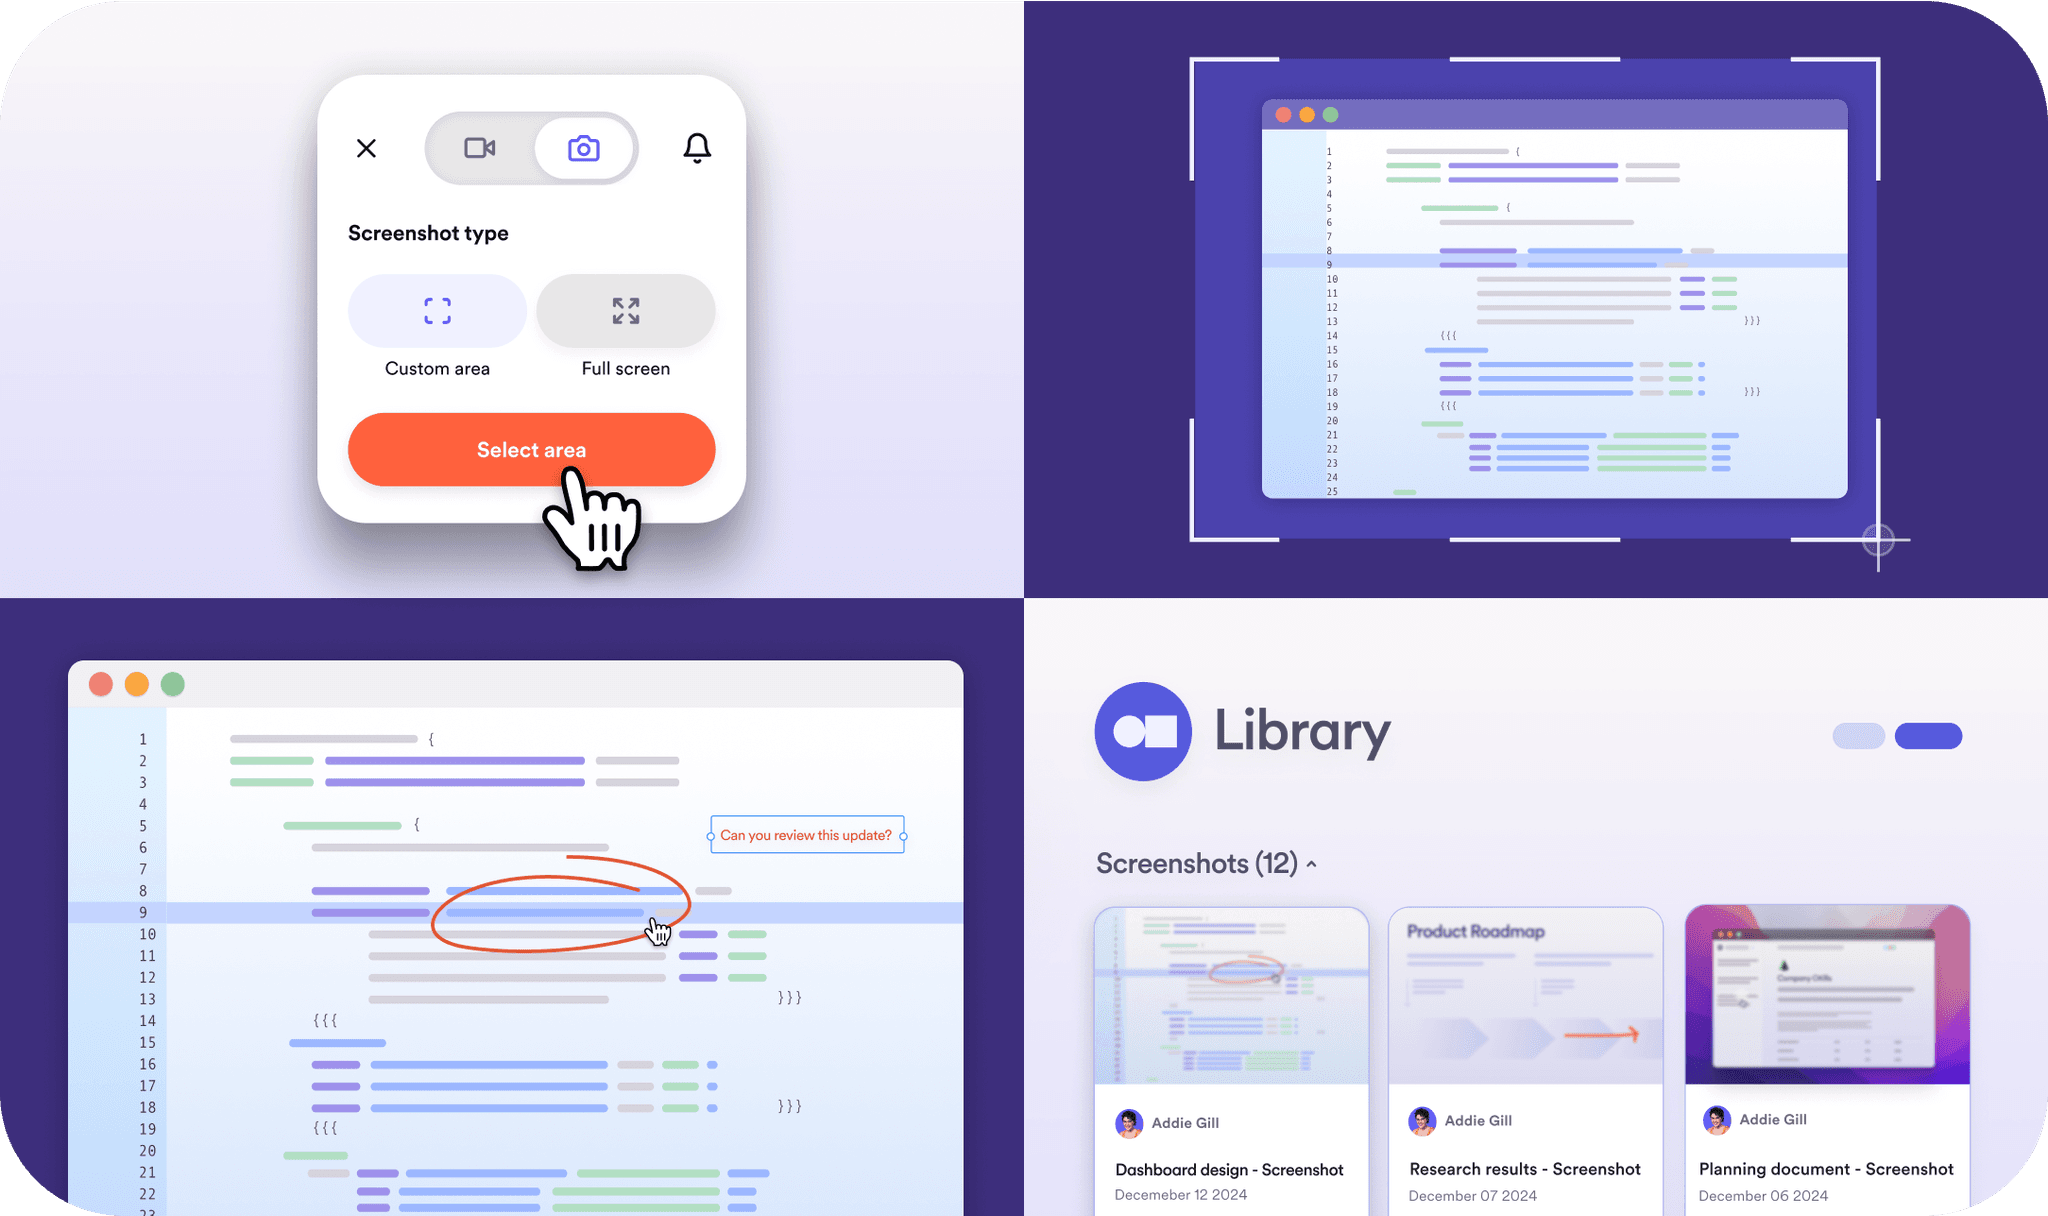
- Custom area capture
Customize your Mac screenshot dimensions and select only the area you need.
- Unlimited cloud storage
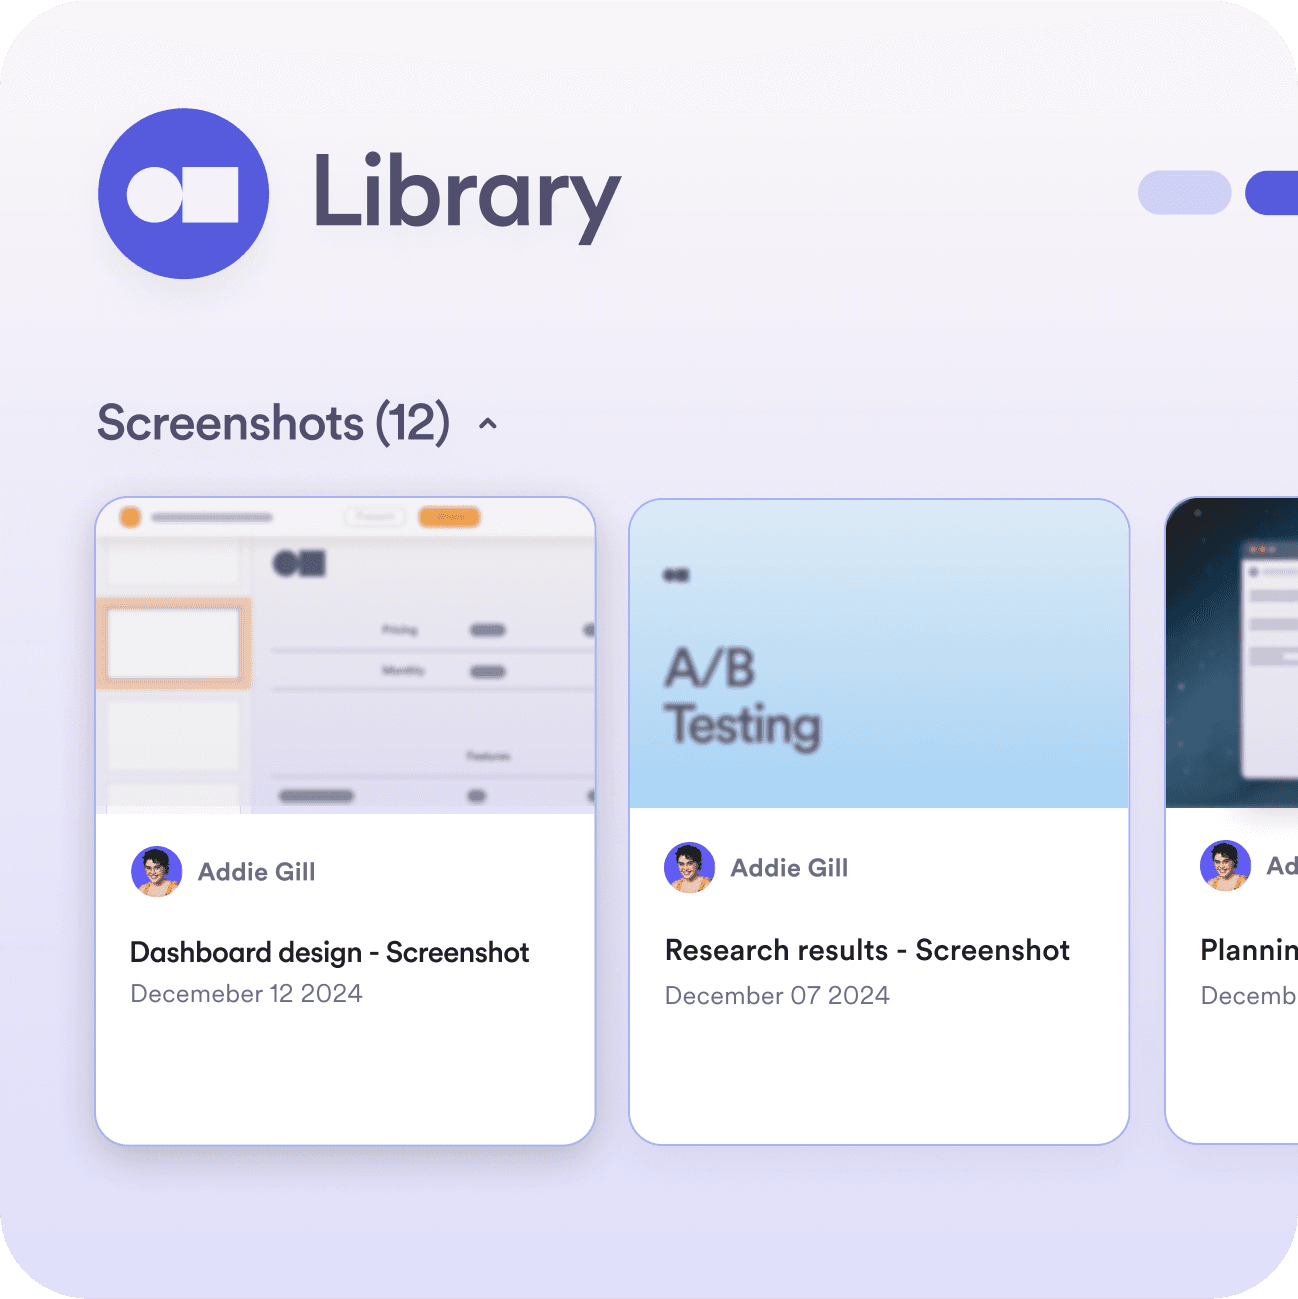
Easily access screenshots in your free Loom library.
- Instant link sharing
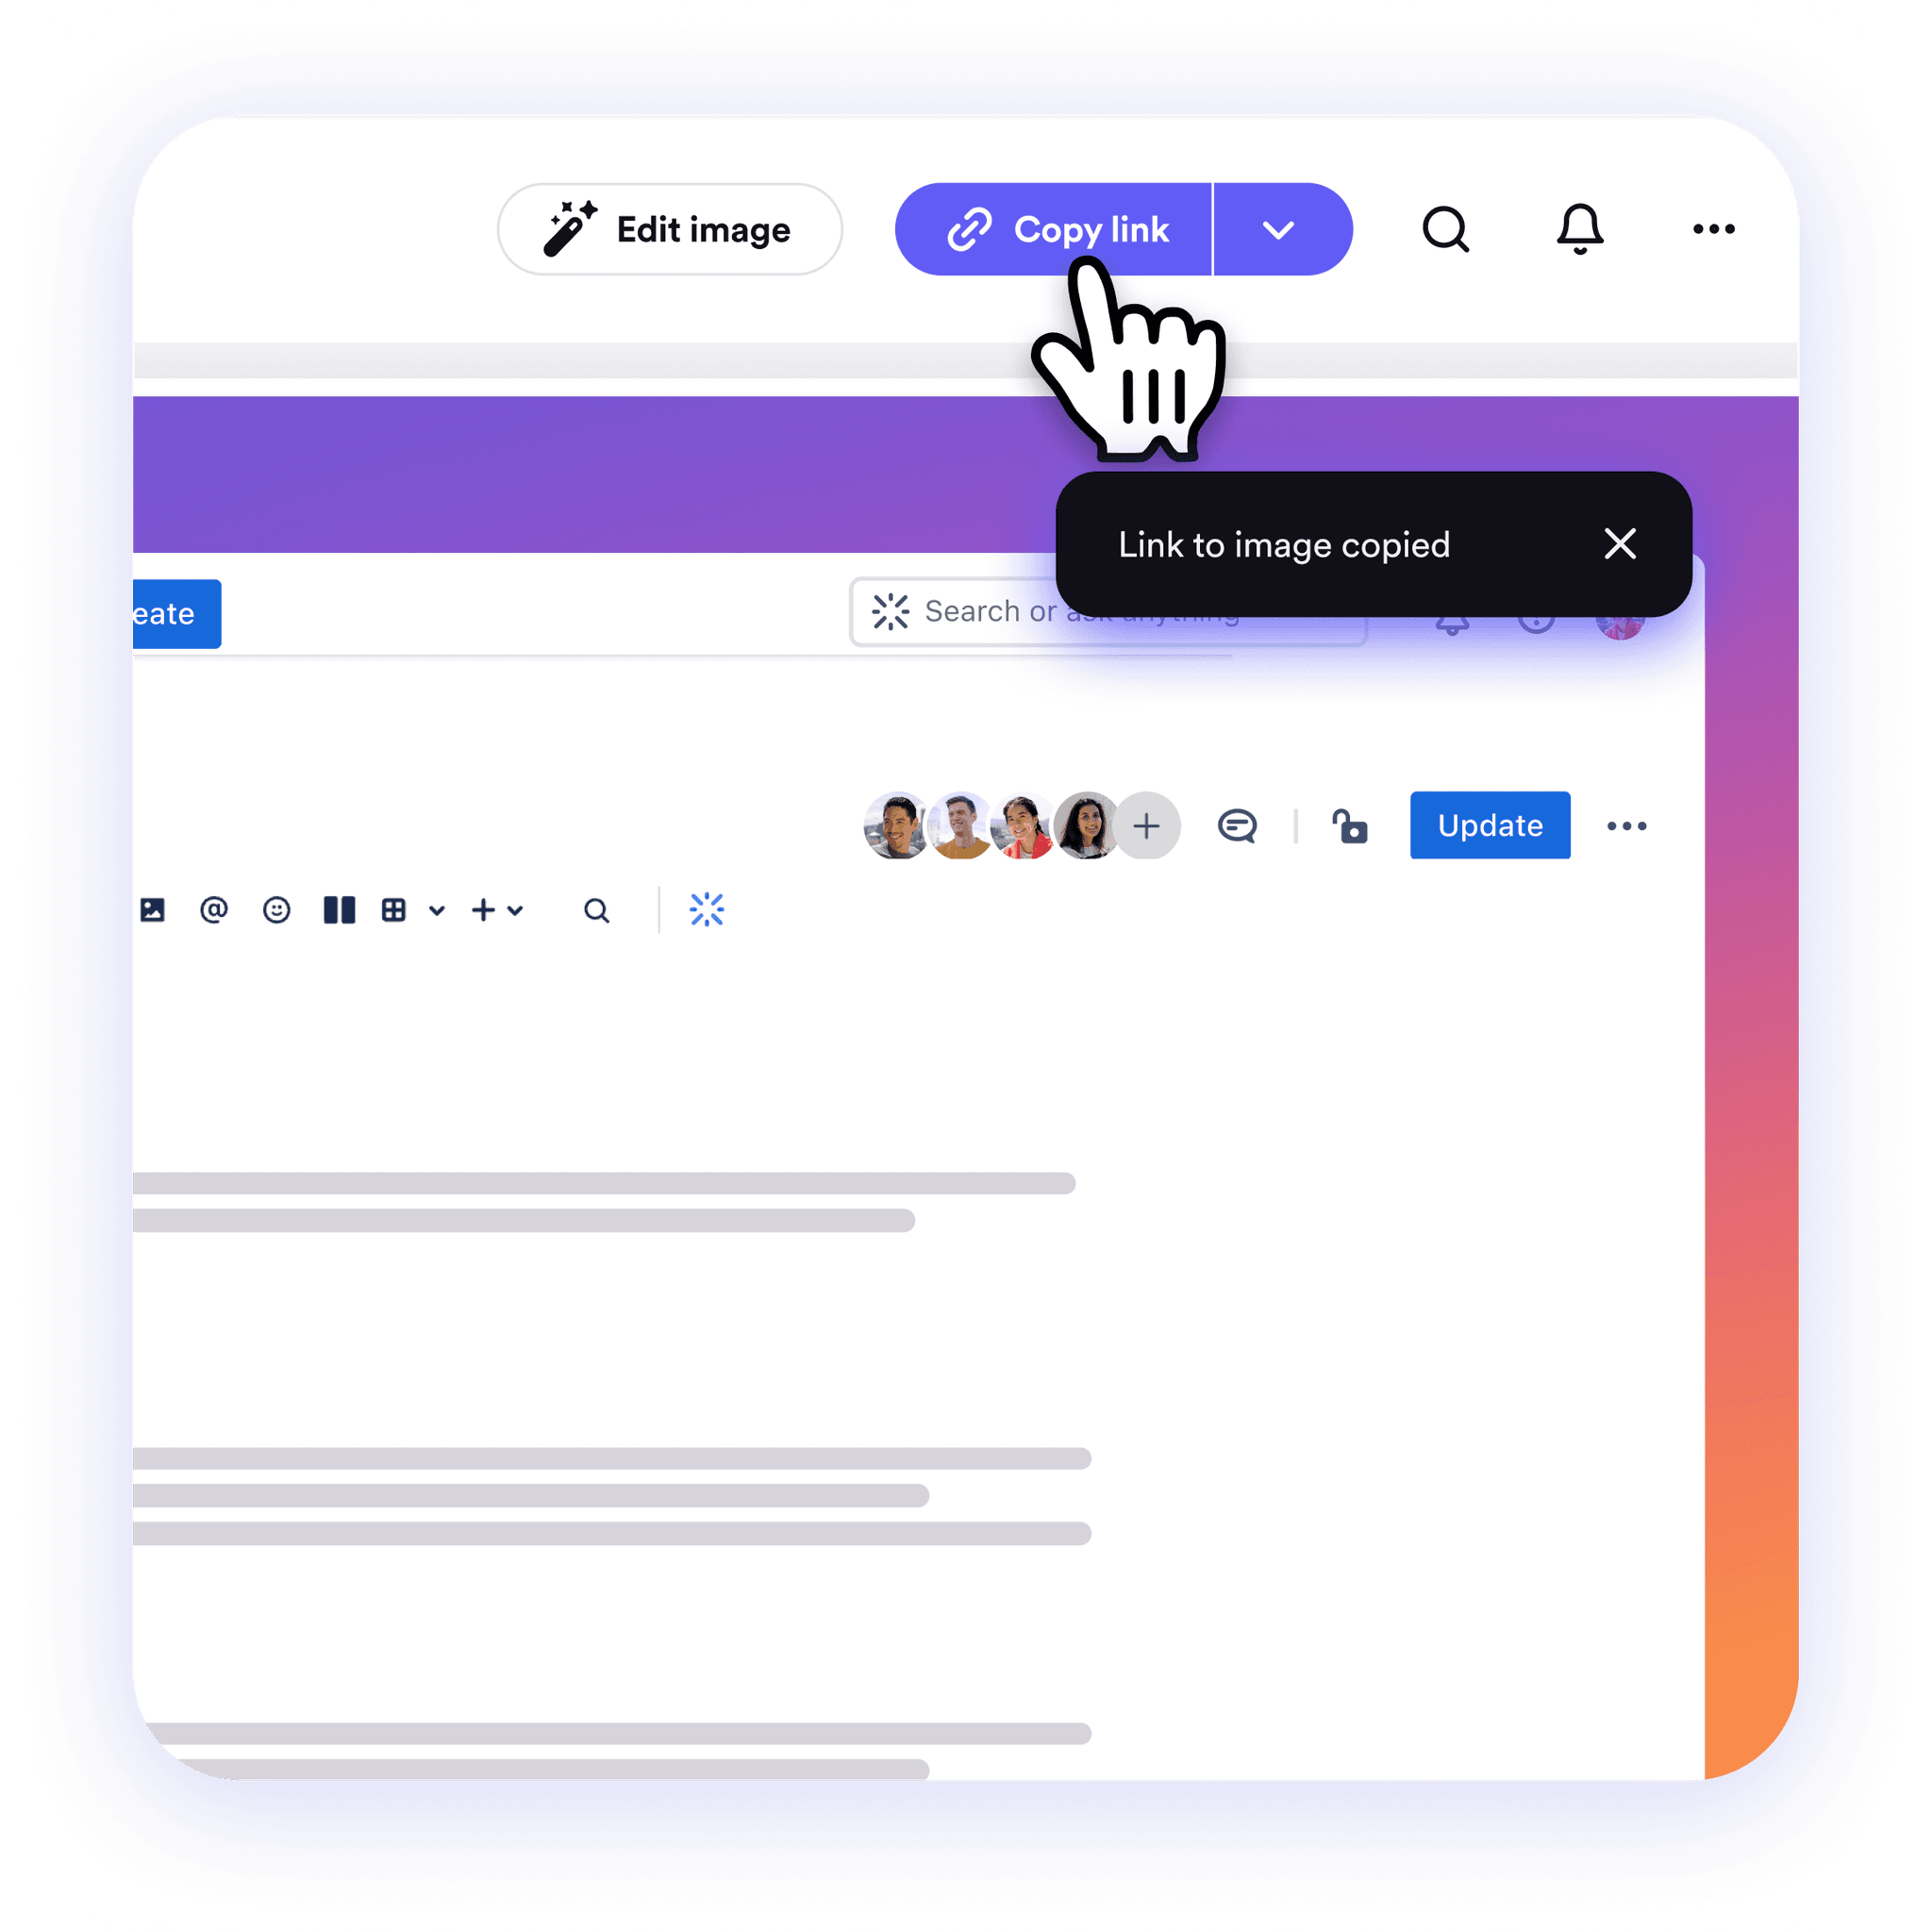
Use an auto-generated link to share your screenshots immediately.
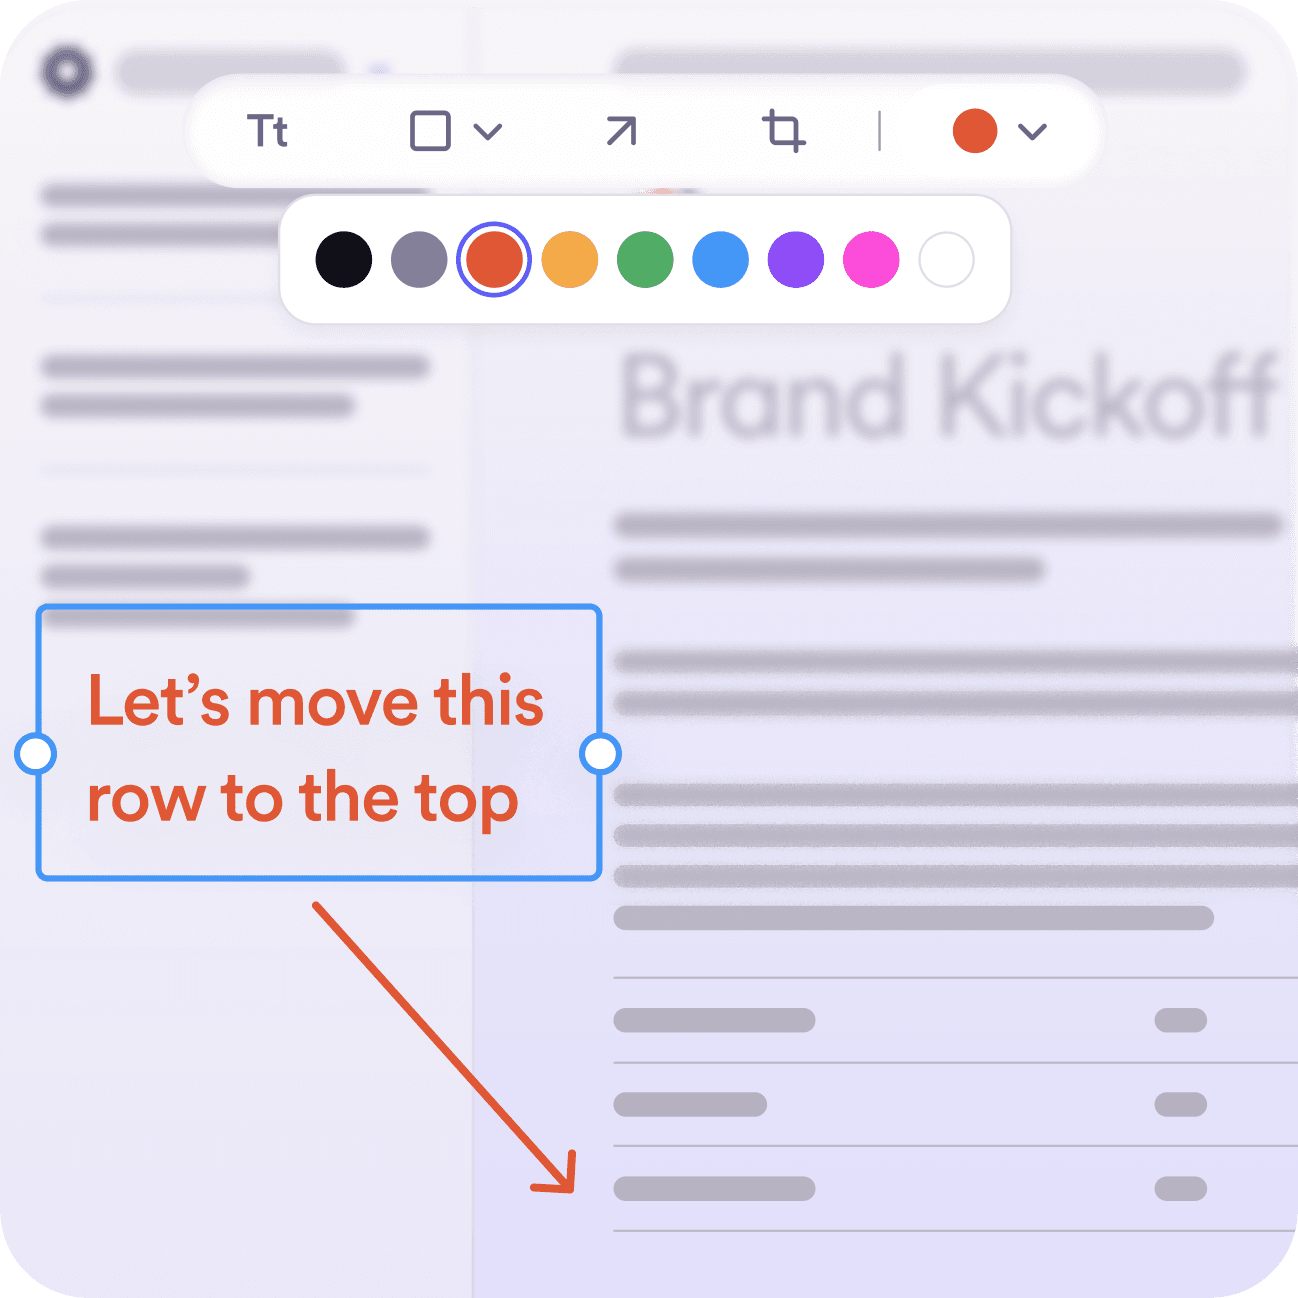
- Annotation tools
Use text, shapes, and arrows to enhance your screenshots for visual reports or presentation slides.
- Privacy controls
Manage viewing access to protect your screenshots.
- Keyboard shortcut integration
Quick shortcuts keep your detailed reports or project documentation workflow simple.
Why choose Loom for your Mac screenshot needs
Loom empowers teams to work faster and collaborate effortlessly with visual clarity, whether sharing insights, preparing reports, or collaborating with teams.
- Customized communication
Easily capture high-quality screenshots of any part of your screen on Mac.
- Clear visual information
Loom's Mac screenshot tool turns complex visuals into crystal-clear images to make your message easy to understand.
- Remote collaboration
Boost collaboration on Mac by sharing your screenshots anytime and anywhere, all stored in Loom's library.
- Comprehensive guides
Build detailed guides and tutorials using Loom by adding annotations on your Mac screen to improve clarity.
Capture screenshots effortlessly
Take crisp, high-resolution screenshots of your Mac screen in just a few clicks. From sharing team updates to preparing presentation slides or capturing important moments, Loom lets you screen capture a selected area or your entire screen with ease.
Annotate and edit screenshots
Highlight key areas by adding shapes and arrows, or add text to ensure your message is clear. Loom makes it simple to customize your Mac screenshot. You can edit and reposition annotations to add clarity and context.
Share screenshots with ease
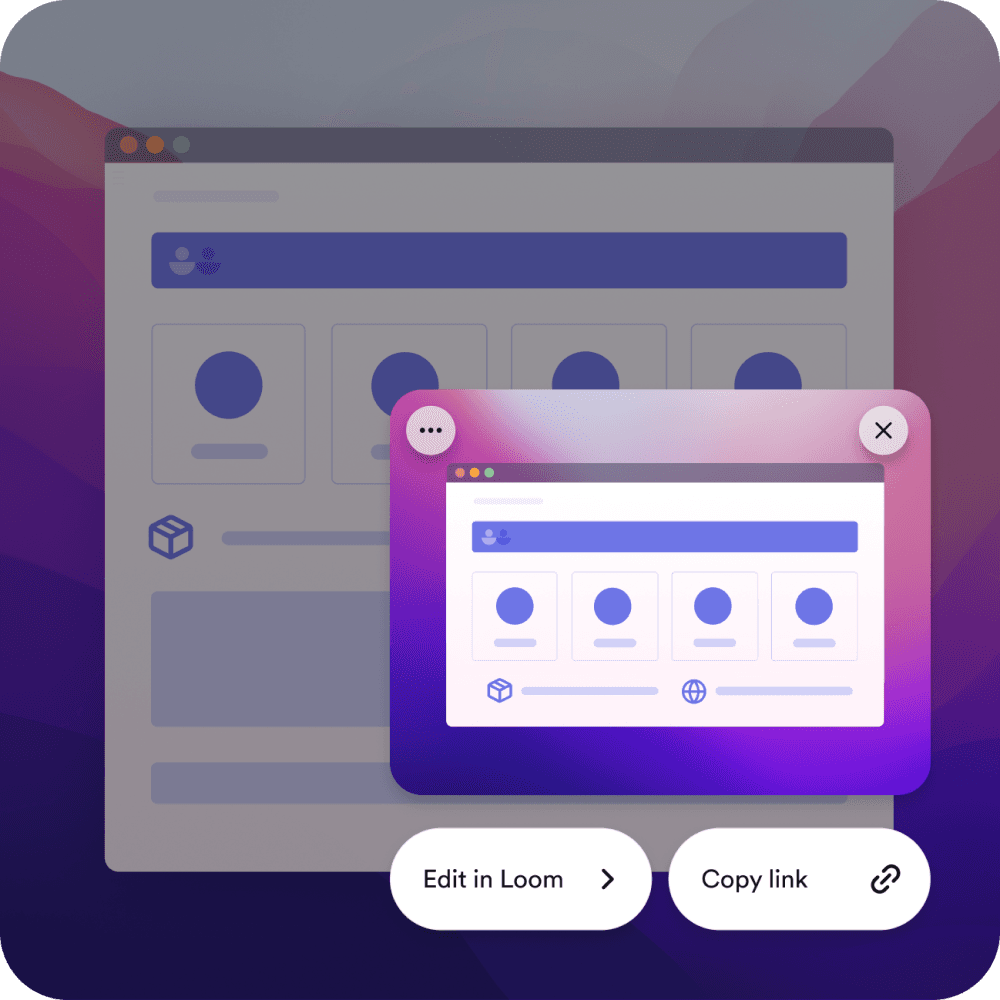
Share your Mac screenshot instantly, from detailed reports to project documentation. Each screenshot generates an instant link, ready to share in your preferred channel. Your recipient can view it immediately without downloading the file.
Store and manage screenshots
Stay organized with Loom's Mac screenshot tool. Save your visual reports or presentation slides in the Loom library with folders and tags for quick access. Enjoy unlimited cloud storage to capture, store, and download without limits.

Loom has made our business more financially viable, democratized access to sales knowledge, and facilitated the opportunity to learn from a ton of different people.

Hayley CrownHead of Education, Flockjay
How to take a screenshot on Mac
1. Manually capture your screen
- Press Command + Shift + 4 on your keyboard to take a partial screenshot.
- Locate the screenshot on your desktop, saved with a timestamped filename.
- Drag the screenshot into an email, project file, or app to share or edit as needed.
While effective for basic screenshots, these steps lack advanced editing and sharing features. This might limit your screenshot’s usability for project documentation or detailed reports.
2. Use Loom to capture your screenshot
- Open Loom’s desktop app or Chrome extension and click the camera icon next to the video icon to access the screenshot tool.
- Choose your screenshot type by selecting either Custom area or Current tab and then click Select area to proceed with capturing your Mac screenshot.
- In the Loom’s screenshot editor, you can click Edit image to annotate your screenshot with text, shapes, or arrows to highlight key points.
- Click Save and copy link once done. Your screenshot is saved in Loom’s cloud library, where it’s readily accessible from My Library.
- You can also share your Mac screenshot instantly using the copied link, or embed it into tools like Slack, Gmail, or Google Docs.
Loom’s Mac screenshot tool combines ease of use with advanced features, making it the go-to solution for professional use.
FAQs about Loom’s Mac screenshot tool
How do I download my Mac screenshot?
To download your screenshot on Mac using Loom, click the three-dot icon in the top-right corner of Loom's screenshot editor, which opens automatically after capturing your screen. Then, select Download from the dropdown menu. Your image will be saved locally as a PNG file.
How can I set screenshot keyboard shortcuts on Mac?
To set screenshot keyboard shortcuts on Mac using Loom, open the Loom desktop app and click 'More' in the bottom-right menu. Select 'Settings' from the dropdown, go to 'Preferences,' and customize your hotkeys under 'Screenshot Shortcuts' for faster screen capture workflows.
Is there a Chrome extension for Loom screenshots?
Yes, Loom provides a Chrome extension for easy screenshot captures. This works seamlessly for both Mac and browser-based tasks.
Does Loom support scrolling screenshots for Mac?
Loom doesn't currently offer scrolling screenshots, but you can use our screen recorder to capture and share detailed workflows or entire pages. We're continuously improving our features and have scrolling screenshots on our roadmap for future updates.
How do I share my Mac screenshots securely?
Loom allows you to share your Mac screenshots securely with auto-generated links. In the Loom screenshot editor, you can choose privacy settings like 'Anyone can view,' 'Workspace can view,' or 'Only people added can access.
Discover how you can use Loom
Whether for sharing insights, preparing reports, or collaborating with teams or general use, Loom's flexibility means it’s perfectly suited for professional creators in any scenario.


